Google Gemini API Key: How to Get One in AI Studio
Create a Gemini API key in Google AI Studio. Sign in, open the Dashboard, and either accept the terms for an auto-created default project or import the Google Cloud project you already have, then click Create API key on the API Keys page. Every key belongs to one project, and that project’s IAM roles, quota, and billing apply to whatever the key sends. New keys are Auth keys bound to a service account, so check the Key Type column if yours predates that default. Free-tier calls need no payment method; a Prepay upgrade starts at $5 in credits.
Two things send people back to the console: a key created before the Auth default, and a Cloud project that never got imported. Both are visible on the API Keys page before you write any code.
Where do Gemini API keys come from?
Google AI Studio issues them. You create and manage standard Gemini API keys on its API Keys page, which shows each key’s project, key type, and restriction labels, and links into the Google Cloud Console when you need controls AI Studio does not expose. The Gemini Enterprise Agent Platform is a separate product with its own credential flow, so a standard API key never comes from there.
Every key belongs to exactly one Google Cloud project. That project holds the billing, the quota, and the permissions, and a successful request is attributed to it, which is why you pick the project first. A key has no billing settings of its own. Think of it as a badge that names a project: the project, and the Cloud Billing account behind it, carry the limits. Who can create or manage keys is decided by IAM roles on that project, not by a membership list.
The key type changes how authentication behaves, and the two types are not equivalent.
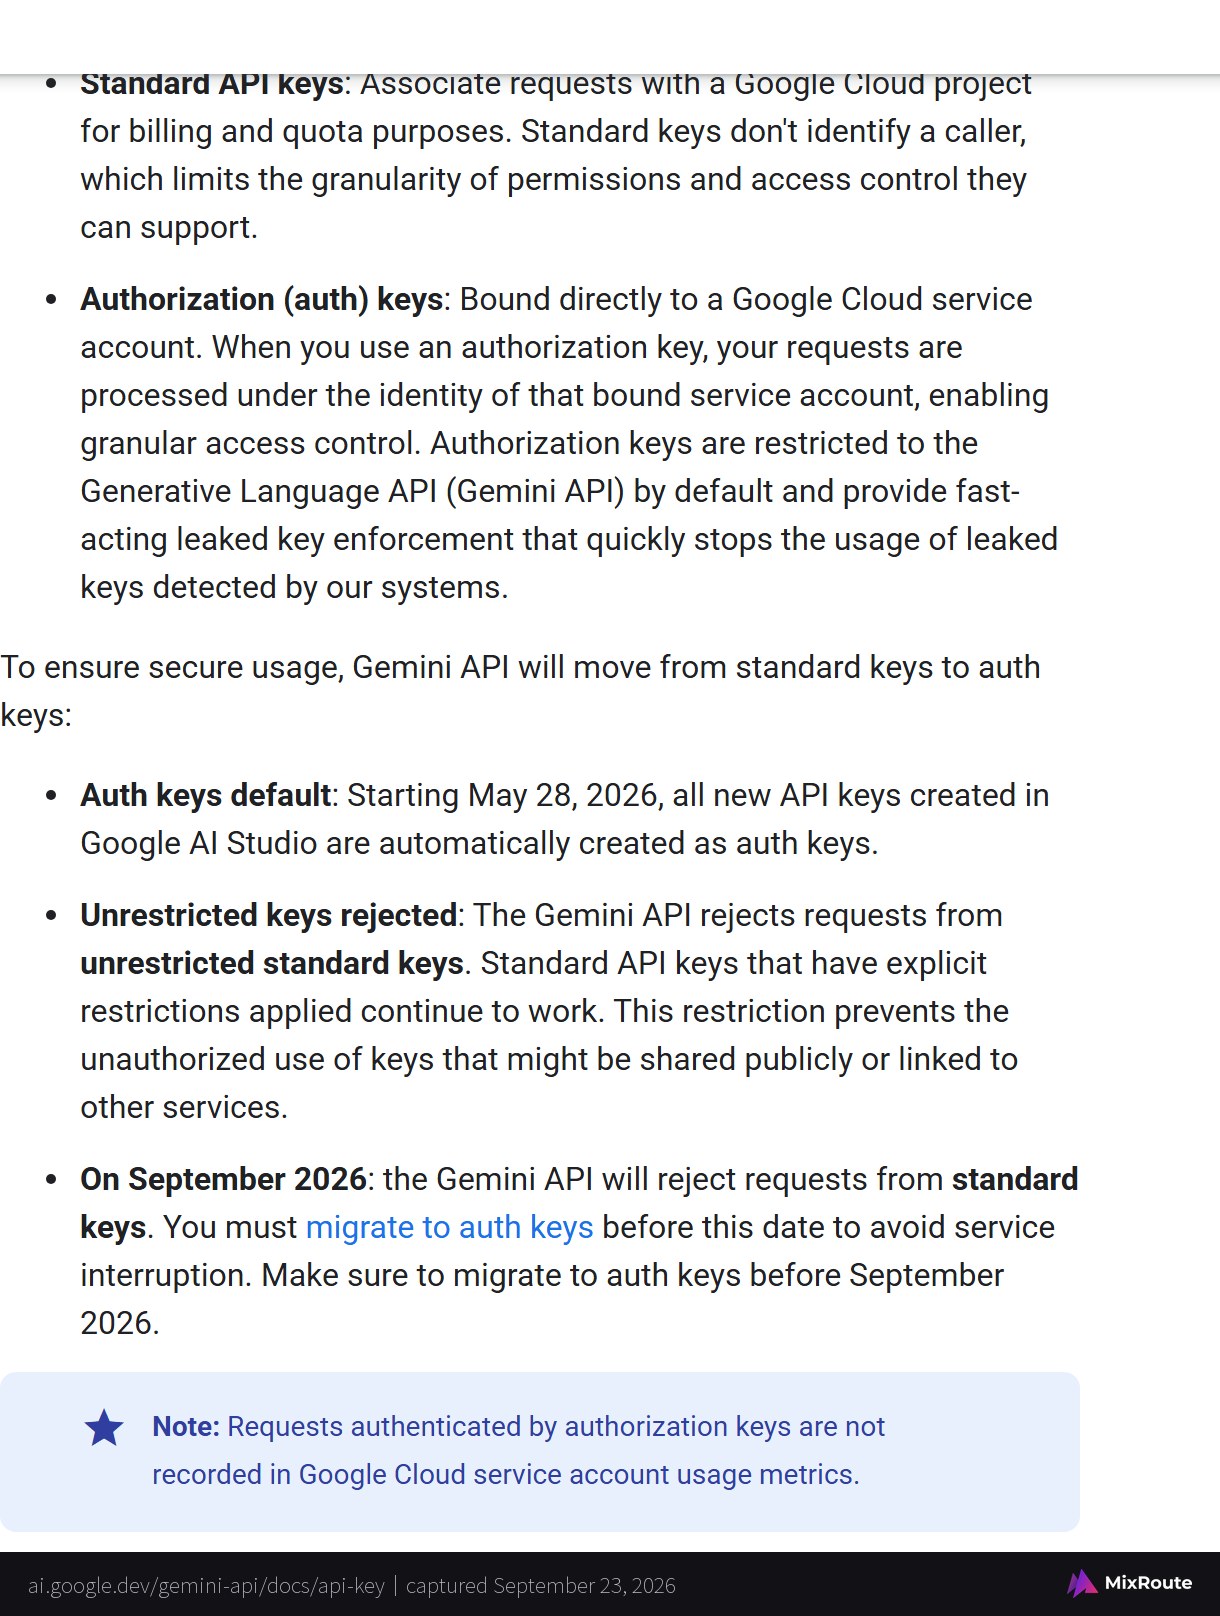
- A standard key ties requests to a Google Cloud project for billing and quota. It does not identify a caller, which caps how finely you can scope permissions.
- An authorization key, or auth key, is bound to a Google Cloud service account. Requests run as that account, the key is restricted to the Generative Language API by default, and Google gets a faster path to stop a key its systems detect as leaked.
New keys from AI Studio are Auth keys already. Google’s key guide gives September 2026 as the retirement window for Standard keys, without naming a day inside it. Open the API Keys page, read the Key Type column, and if it says Standard, issue an Auth key and follow the migration steps below.
How to create a Gemini API key in Google AI Studio
Sign in to Google AI Studio and open the Dashboard from the left panel. What happens next depends on whether that Google identity already has a Google Cloud account, because AI Studio treats the two cases differently.
New to Google Cloud: accept the terms and a project appears
Accept the Terms of Service and AI Studio creates a default Google Cloud project plus one API key for you. Copy the key from the API Keys page. The default name can be changed later from the Projects view in the dashboard, and the key stays attached to that project.
Already on Google Cloud: import the project first
AI Studio will not create a default project for you, and it does not display every project you own. Import the one you want to use:
- Open the Dashboard from the left panel and select Projects.
- Click Import projects.
- Search for the project, select it, and click Import.
With the project listed, open the API Keys page, click Create API key, and follow the dialog to attach the new key to that project.
Confirm the project before the first call so the usage lands on the account you expect. If the project is missing from AI Studio, check which Google account you are signed in as and import it again. The documented page limits are 100 keys and 50 projects, and the Projects page can create up to 10 projects at a time.
How to check the project and key type after creation
Once the creation dialog closes, the API Keys page answers the two questions that matter about a new credential: which Google Cloud project owns it, and which key type it is.
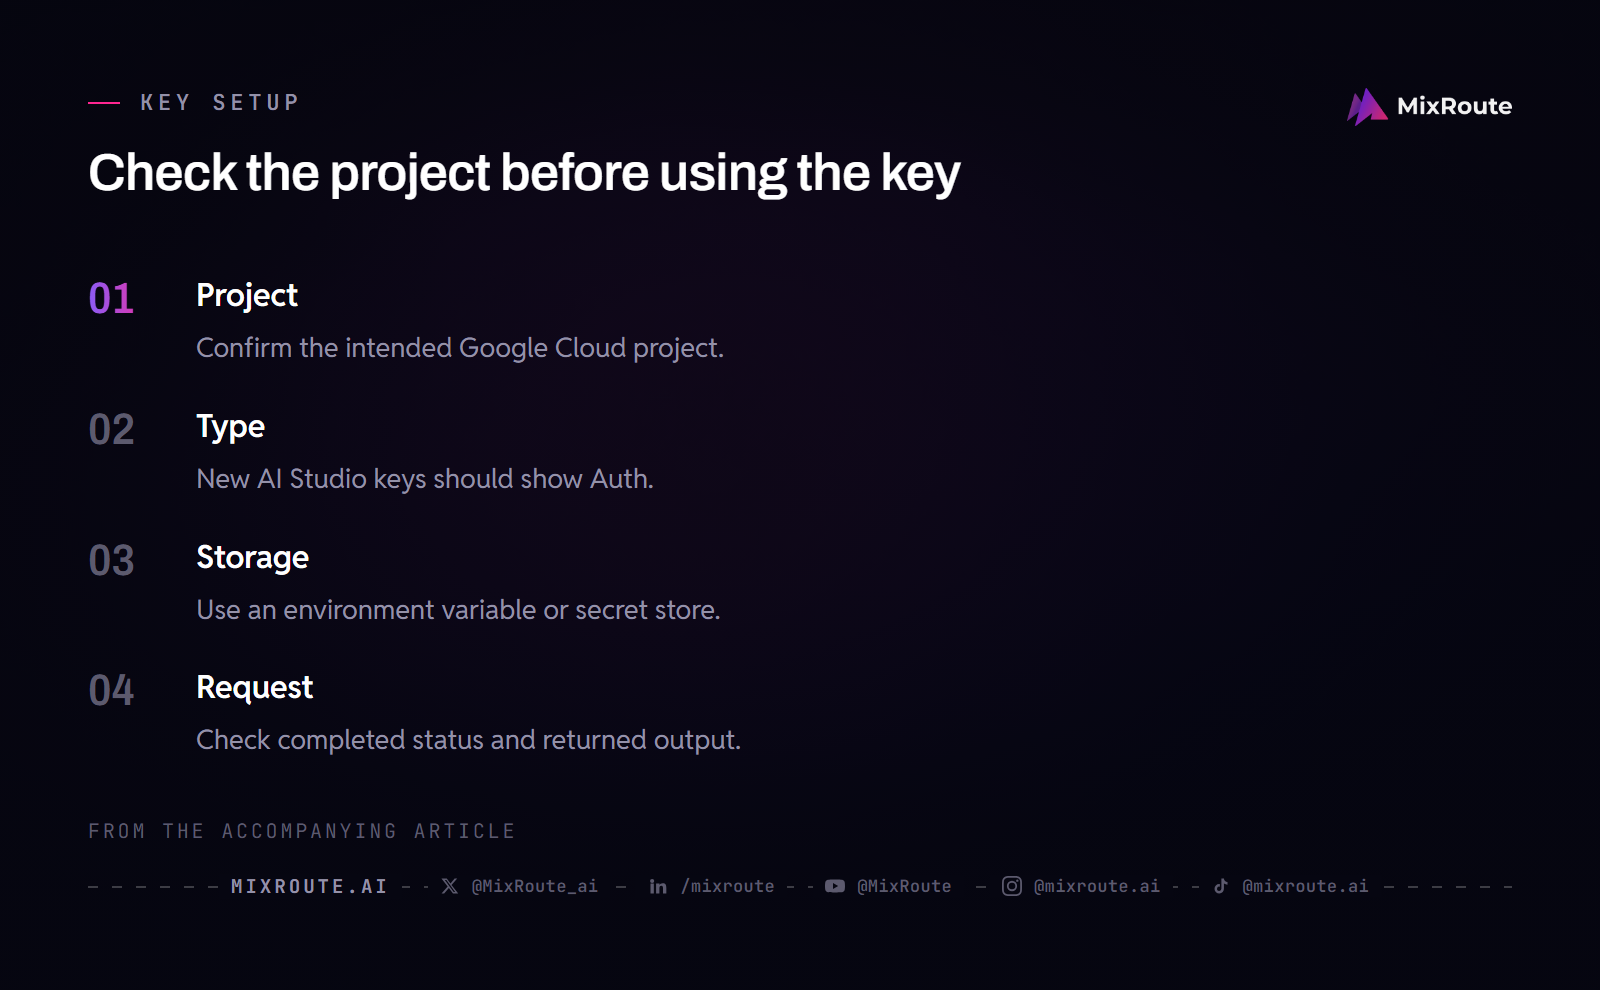
Read the project, the Key Type column, and the status labels
Start with the project and Key Type columns. If the row says Standard, create an Auth key, point the application at it, confirm a request succeeds, and then retire the old key. A suspected leak is a separate job: revoke the exposed credential and audit its usage.
Unrestricted Standard keys are rejected, so a key with no restrictions will not carry traffic. A Blocked label marks a dormant unrestricted key of the kind the API has been blocking since May 7, 2026. When a call fails, read the label and the error message before you change anything.
| What to check | Where it appears | What it tells you |
|---|---|---|
| Project ownership | API Keys page, project column | Usage is attributed to this project, and IAM roles on it control who manages keys |
| Key type | API Keys page, Key Type column | Auth is the default for new keys; migrate an existing Standard key |
| Status label | API Keys page, Unrestricted or Blocked label | Both states are reasons to create a new auth key and migrate now |
| Create button disabled | API Keys page, with an error message | The signed-in identity lacks key creation IAM permissions, so ask an administrator |
When the Create API key button is disabled
If the button is unavailable and reads “You do not have permission to create a key in this project”, the signed-in identity is missing the IAM permissions Google requires for key creation: resourcemanager.projects.get, apikeys.keys.create, serviceusage.services.enable, iam.serviceAccounts.create, and iam.serviceAccountApiKeyBindings.create. Ask the project or organization administrator for a role that carries them, or create the key in a project you already administer. Company work should stay inside the approved account and access process; a personal project is fine for your own experiments.
How to store a Gemini API key safely before the first request
Pick where the key lives before any code reads it. Google’s rule is to treat a Gemini API key like a password: never check it into Git, never hardcode it in client-side web or mobile code, and read it from an environment variable or a secret store in production.
Export the key as an environment variable
When you construct a client without passing a key, the Gemini client libraries detect GEMINI_API_KEY or GOOGLE_API_KEY on their own. If both are set, GOOGLE_API_KEY takes precedence, which matters on a machine where another Google service already keeps its key under that name.
export GEMINI_API_KEY="YOUR_API_KEY"The export line is POSIX shell syntax. On Linux with bash, append it to ~/.bashrc and run source ~/.bashrc. On macOS with zsh, append the same line to ~/.zshrc and run source ~/.zshrc. On Windows, open Environment Variables from the system settings, add a user variable named GEMINI_API_KEY with the key as its value, save it, and start a new terminal session so the variable loads.
Passing the key straight into a client constructor is Google’s fallback for initial local testing, and it stops being safe the moment the file is shared or committed. Keep it to a temporary step.
Move to a secret manager for production
Anything past a local test belongs in a secret manager such as Google Cloud Secret Manager, with billing alerts set in the Cloud Console so a cost spike surfaces early. The order you rotate in depends on why you are rotating.
- Suspected leak: disable or delete the exposed key first to stop the misuse, then create the replacement, deploy it, verify it, and audit usage for calls you did not make.
- Planned rotation of a key you have no reason to think is exposed: deploy and verify the new key first, then retire the old one.
If you are scripting rotation or revocation across a set of keys, read our AI API key management guide to set the generate, deploy, verify, and revoke steps in the right order.
How to verify the key with a first request
One request settles whether the key works, long before application code exists. Google’s quickstart uses the Interactions API, and its published REST example sends the key in the x-goog-api-key header:
curl -X POST "https://generativelanguage.googleapis.com/v1beta/interactions" \
  -H "x-goog-api-key: $GEMINI_API_KEY" \
  -H 'Content-Type: application/json' \
  -d '{
    "model": "gemini-3.8-flash",
    "input": "Explain how AI works in a few words"
  }'
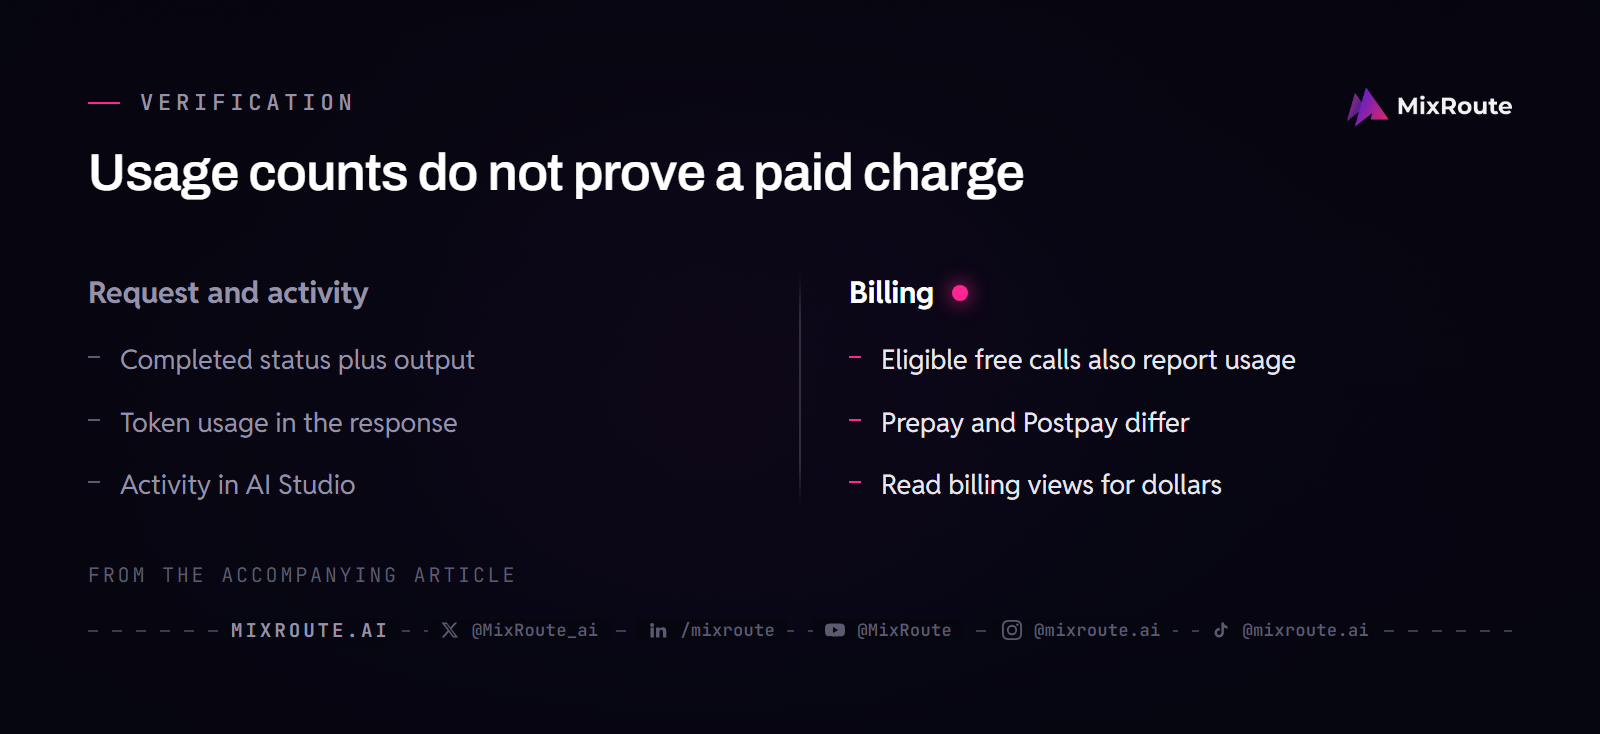
Run that from a terminal where GEMINI_API_KEY is exported, then read the interaction that comes back. The response carries an id, a status field, a usage block, a created timestamp, and a steps history whose final model_output holds the assistant’s text. The SDKs hand you that text through a convenience property such as output_text. A status of completed with output attached means the key passed validation and the call was processed. Token totals for your call sit in that usage block, and ongoing activity shows up in AI Studio under Dashboard > Usage.
Two checks can be made here, and they answer different questions. Reported usage does not mean money moved: free tier requests report usage too, and Google’s billing documentation states that a request failing with a 400 or 500 error is not charged for the tokens it used, though it still counts against quota. For dollar-level questions, the billing views are the place to look, not the response object by itself.
The same request works through Google’s Python and JavaScript SDKs. Install google-genai or @google/genai, let the client read the environment variable, and call interactions.create with the same model name and input. In Python that looks like this:
from google import genai

client = genai.Client()  # reads GEMINI_API_KEY or GOOGLE_API_KEY
interaction = client.interactions.create(
    model="gemini-3.8-flash",
    input="Explain how AI works in a few words",
)
print(interaction.output_text)
Replace gemini-3.8-flash with the model ID you intend to use. When a call fails, read the error message first, then work through key status, project permissions, model availability, and the quota for that request.
What the free tier and paid tier require before you rely on the key
You can run the first verification requests without attaching a payment method, as long as your account, your region, and the model you chose are eligible for the free tier and free allowance is left. Google’s billing guide says new accounts begin on the Free Tier, which reaches certain models up to each model’s free tier rate limits, and that the free tier is available in many regions. That coverage is not everywhere, and some models and features are paid-only, so confirm the specific model before you build on free access.
The paid tier raises rate limits and unlocks advanced models. To get there, click Set up billing on the AI Studio API Keys or Projects pages, create or link a Cloud Billing account, and add a payment method. Prepay starts at $5 in credits. That figure belongs to the Prepay billing plan rather than to every paid account: eligible accounts can choose Postpay, and some transitional accounts are assigned Postpay while Google completes its Prepay rollout. The $5 is a minimum credit purchase, not a monthly subscription fee.
One paid tier condition has nothing to do with money. Google’s billing guide says linking a billing account and moving to the paid tiers is what ensures your prompts and responses are not used to improve Google products, and it points to the Terms of Service for the details. If that data use condition is what matters to you, billing setup is doing privacy work as well as raising rate limits.
Once billing is active, watch it the way you would any account with a balance. On the Prepay plan, when the credit balance reaches $0, every API key on every project linked to that billing account stops at once until you buy more credits, which is why Google recommends auto-reload. For observing activity, use AI Studio rather than a Cloud service account usage view: Google notes that requests authenticated by authorization keys are not recorded in Google Cloud service account usage metrics, and dollar-level cost details can take time to appear in Cloud Billing.
Where the money comes from depends on the credential. A native Gemini key draws on the Cloud Billing account linked to its project. A gateway route funded through MixRoute draws on prepaid credits instead, a separate billing relationship with a separate minimum. If that second funding model is the one you are weighing, compare MixRoute prepaid tiers to decide whether a prepaid balance fits your projected usage before you fund another account.
Native Gemini key vs MixRoute key: what changes if you call the same model through a gateway
Both are secrets you paste into a config, and after that they part ways: each one answers to a different authority.
A native key is created in Google AI Studio, bound to a Google Cloud project through a service account, and sent in the x-goog-api-key header to Google’s endpoint. Usage is attributed to the Cloud Billing account linked to that project, and Google’s auth key enforcement and restriction labels apply to it.
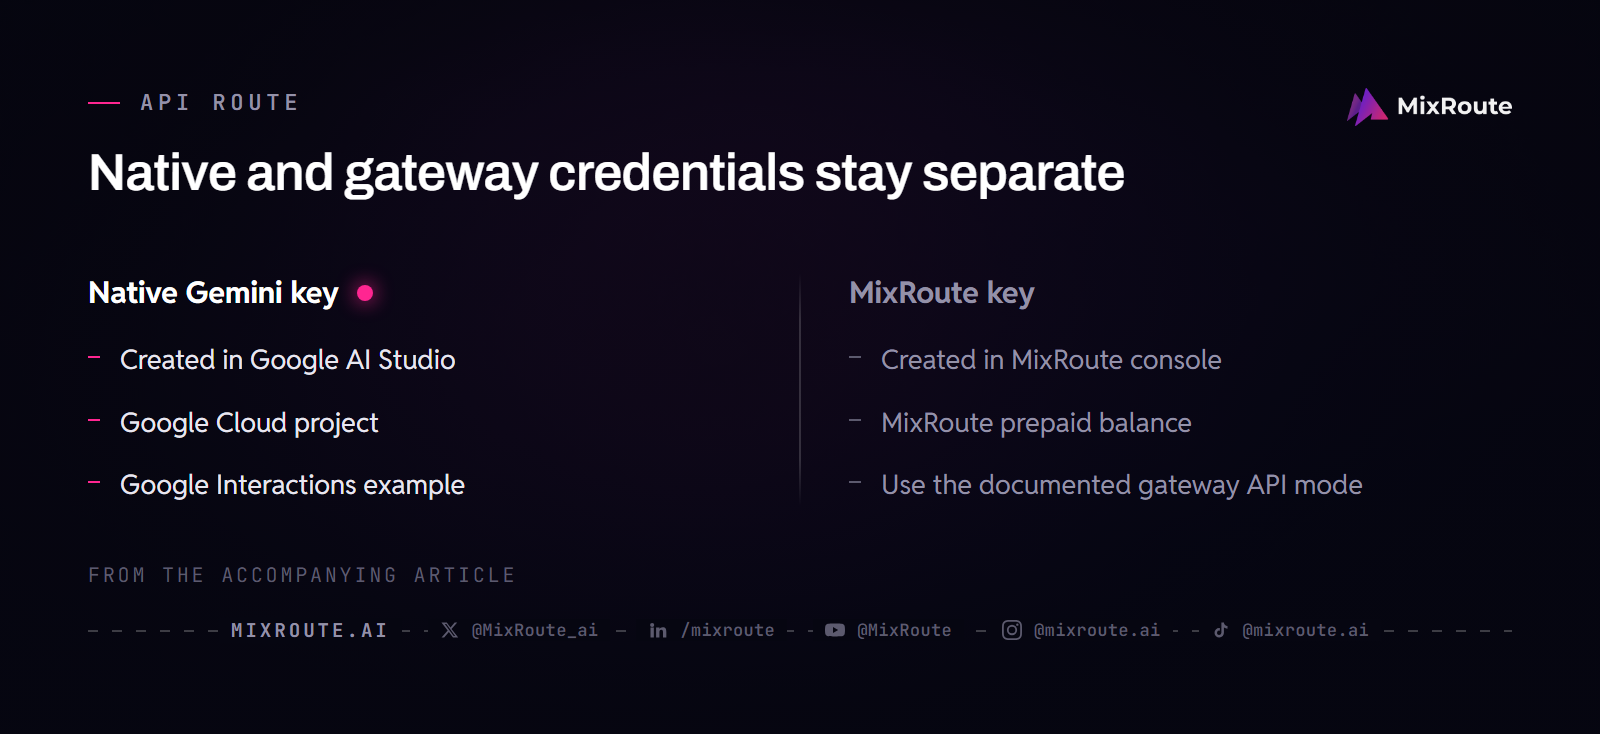
MixRoute keys are created and managed in the MixRoute console, and they authenticate the documented MixRoute gateway endpoints under the MixRoute account. The Google models behind those endpoints are not served through copies of Google’s Interactions API. There are two documented surfaces: an OpenAI-compatible one at https://api.mixroute.ai/v1 for clients that speak the OpenAI SDK protocol, and a Gemini-native generateContent route at https://api.mixroute.ai/v1beta/models/<model>:generateContent. Credential, host, path, API mode, method, model ID, and request and response formats can all differ between routes, so check the reference for the route you picked before you point a client at it.
| What you compare | Native Gemini API key | MixRoute API key |
|---|---|---|
| Where it is created | Google AI Studio, API Keys page | MixRoute console |
| What it authenticates | The Gemini API under your Google Cloud project; auth keys run as a bound service account | Documented MixRoute endpoints under the MixRoute account |
| Documented API surfaces it targets | Google’s Gemini REST endpoint and the Google Gen AI SDKs | OpenAI-compatible /v1 and Gemini-native generateContent at /v1beta/models/<model>:generateContent |
| How usage is funded | Cloud Billing account linked to the project | Prepaid credit balance in MixRoute |
| Where key controls live | Google AI Studio and the Google Cloud Console | MixRoute console |
Pick the OpenAI-compatible route when your application is already written against the OpenAI SDK. MixRoute documents that migration as a base URL change to https://api.mixroute.ai/v1, but confirm which model IDs and message formats that route accepts before you assume every model and feature transfers. Read our OpenAI-compatible API guide to map which client settings change for a gateway route before you repoint a production client.
For this setup, start with the native Gemini key. A gateway credential comes later, if you want one account and one documented interface across several providers, and it is a separate key with its own storage, rotation, and billing checks.
FAQ
Do I need a Google Cloud project to get a Gemini API key?
Every Gemini API key belongs to a Google Cloud project, so yes. If the identity is new to Google Cloud, accepting the Terms of Service is enough: AI Studio creates the default project and the first key together, and the project can be renamed later. If the account already has Cloud projects, none of them appear in AI Studio until you import the one you want under Dashboard > Projects. Without that import, the Create API key dialog has no project to attach the key to.
Why do new AI Studio keys show as Auth?
Because Auth became the default in AI Studio, and it applies to every key created from that point on. An Auth key is bound to a Google Cloud service account, is restricted to the Generative Language API by default, and gives Google a faster path to disable a key its systems flag as leaked. Anything older than that default shows as Standard, and Standard keys are on the retirement path, so plan the migration for those applications.
Can I still use an unrestricted Standard Gemini API key?
No. The API already rejects requests from unrestricted Standard keys, and a dormant unrestricted key can be blocked on top of that. Google gives September 2026 as the window when Standard keys stop working altogether. Open the Key Type column in AI Studio, create an Auth key, update the application and its environment variables, confirm one successful request, and then delete the old credential so nothing quietly keeps using it.
What does it cost to start using a new Gemini API key?
Nothing, if the call qualifies for the free tier. Eligibility depends on the model, your account, and your region, and free access lasts only while allowance is left. A Prepay upgrade needs at least $5 of credits. Eligible accounts can choose Postpay, and some transitional accounts are assigned Postpay while Google completes the Prepay rollout. That $5 is a minimum credit purchase, not a subscription fee, and paid-only models will not run until billing is attached.
Why is the Create API key button disabled?
Ask a project or organization administrator for the permissions, or move the work to a project you already administer. Google names five: resourcemanager.projects.get, apikeys.keys.create, serviceusage.services.enable, iam.serviceAccounts.create, and iam.serviceAccountApiKeyBindings.create. A role such as Project Editor carries them. Company work should stay in the company’s own project and access process, even when a personal project would be quicker to set up.
How do I know a first request actually used my key?
Check that the response completed with output attached, then read the usage block for that call. Usage on its own does not prove a charge: free-tier requests report tokens too, and a request that fails with a 400 or 500 error still shows usage while Google does not bill for those tokens. Ongoing totals live in AI Studio under Dashboard > Usage, which is the view to trust here, since auth key requests are never recorded in Google Cloud service account usage metrics.
What is the difference between a Gemini API key and a MixRoute API key?
They authenticate different targets and spend different balances. The native key goes to Google’s endpoint in the x-goog-api-key header and is paid for by the Cloud Billing account linked to its project. The MixRoute key is created in the MixRoute console, authenticates the documented MixRoute endpoints, and draws on a prepaid credit balance. Swapping one for the other means changing the host, the route, and the account that funds the call, along with the request format that route expects.